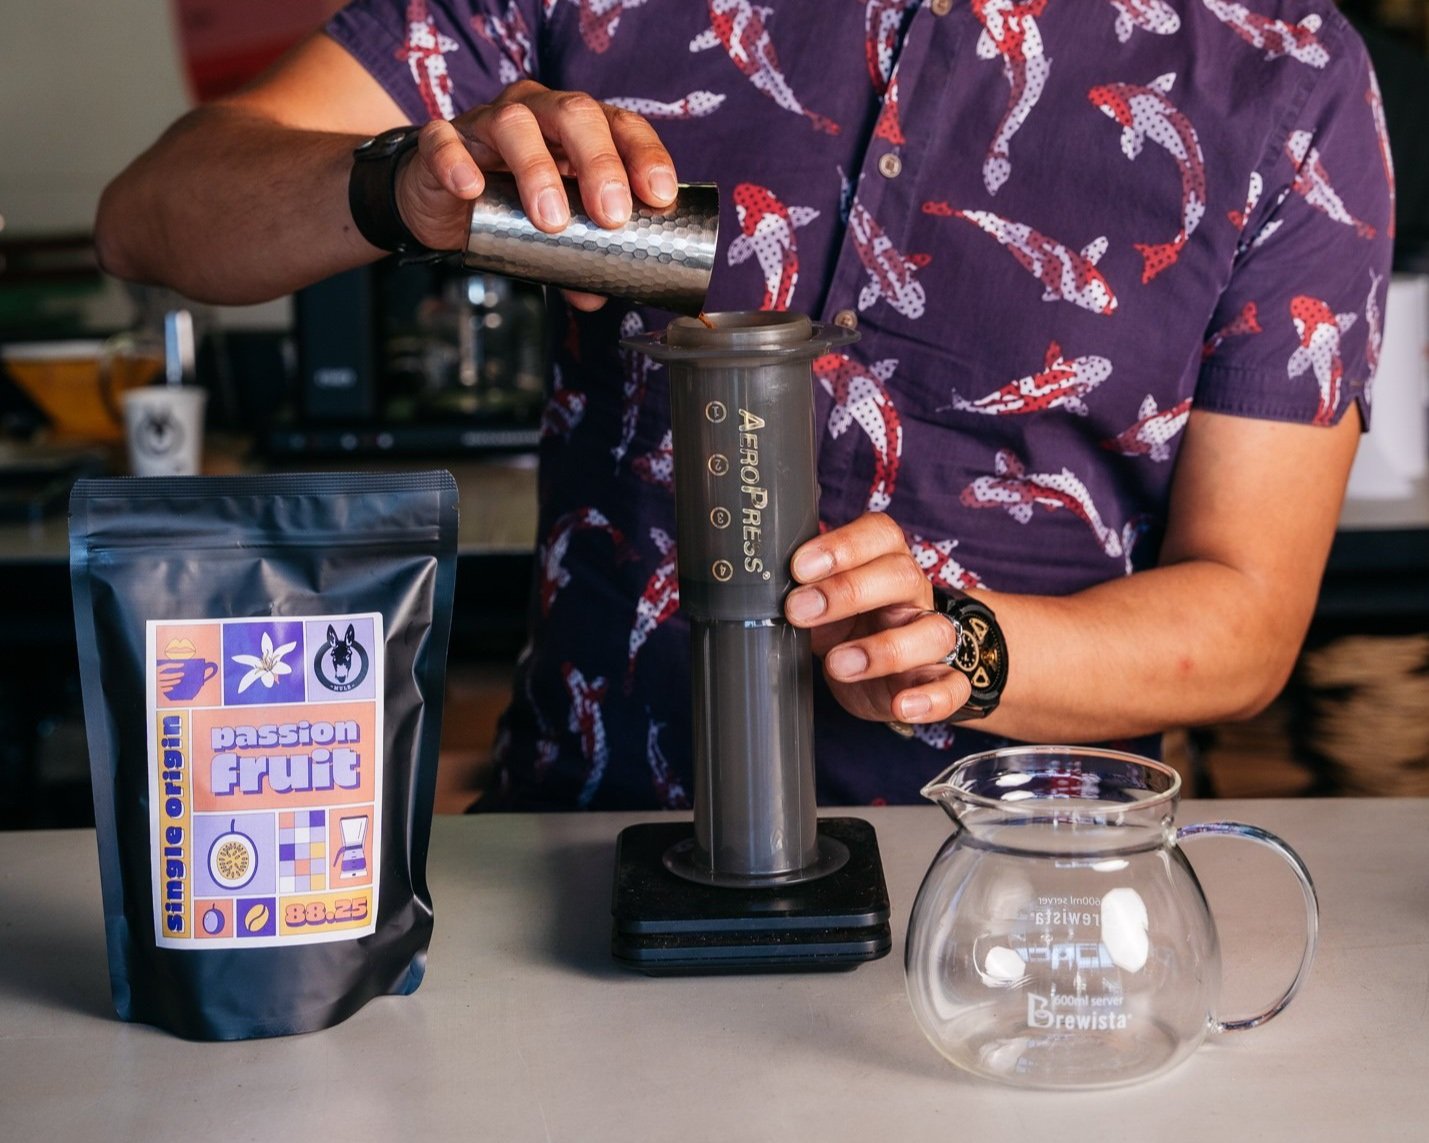
AeroPress Coffee Brewing Guide
The AeroPress: A Revolutionary Brewing Method
The AeroPress is one of our favourite brewing methods for specialty coffee. First released in 2005 by retired Stanford engineering lecturer Alan Adler, it quickly gained a cult following among coffee enthusiasts. Adler designed the AeroPress to improve coffee extraction by using pressure to shorten brew time and reduce bitterness.
The grind size plays a crucial role in AeroPress brewing. Finer grounds require more pressure to extract, while coarser grounds result in a smoother and easier brewing process.
This method is very versatile, so any of our coffees will deliver beautiful flavour notes. But if we had to pick one, we deliberately recommend our Colombian Rhapsody beans.
What You’ll Need for AeroPress Brewing
AeroPress Kit (AeroPress, funnel, stirrer, doser)
Paper filters (or a reusable metal filter)
A small scale (to weigh your coffee and water)
A timer (to ensure precise extraction time)
A coffee grinder (to keep your brew fresh and flavorful)
Coffee beans (or pre-ground if you don’t have a grinder)
A water kettle (preferably a gooseneck with an adjustable thermostat)
Step by Step AeroPress Brewing Guide
Step 1 - Prepare Your Filter
Remove any paper filter taste by rinsing the filter with hot water after placing it inside the filter cap.
Step 2 - Grind and Weigh Your Coffee
Grind your coffee. Weight your coffee already ground. (We suggest 14gr of coffee) for 1 cup.
Step 3 - Set Up Your AeroPress
Position the AeroPress upside down, with the plunger extended to around number 4. Place it on your scale and add your ground coffee, ensuring an even distribution.
Step 4 - Start the Bloom
Pour 80ml of hot water (93°C recommended) over the coffee grounds. Let it bloom for 15 to 30 seconds, then stir gently and steadily.
Step 5 - Complete the Pour
Slowly pour hot water until you reach 225ml of total water.
Step 6 - Flip and Secure
Attach the filter cap with the rinsed paper filter, then place your cup or jug over the cap. Carefully flip the AeroPress back into its normal position.
Step 7 - Press and Extract
Gently press down the plunger with steady pressure, aiming for a 2 to 3-minute extraction time.


